Getting a camera picture and saving it with PHP and Vanilla JavaScript 1/2
To show how to get a camera photo with the HTML5 User Media API and save it on our server we will build an app in which the users would be able to share their camera and take a snapshot. Upon doing this, the snapshot will be saved to the server and all user snapshots will be shown directly on the page.
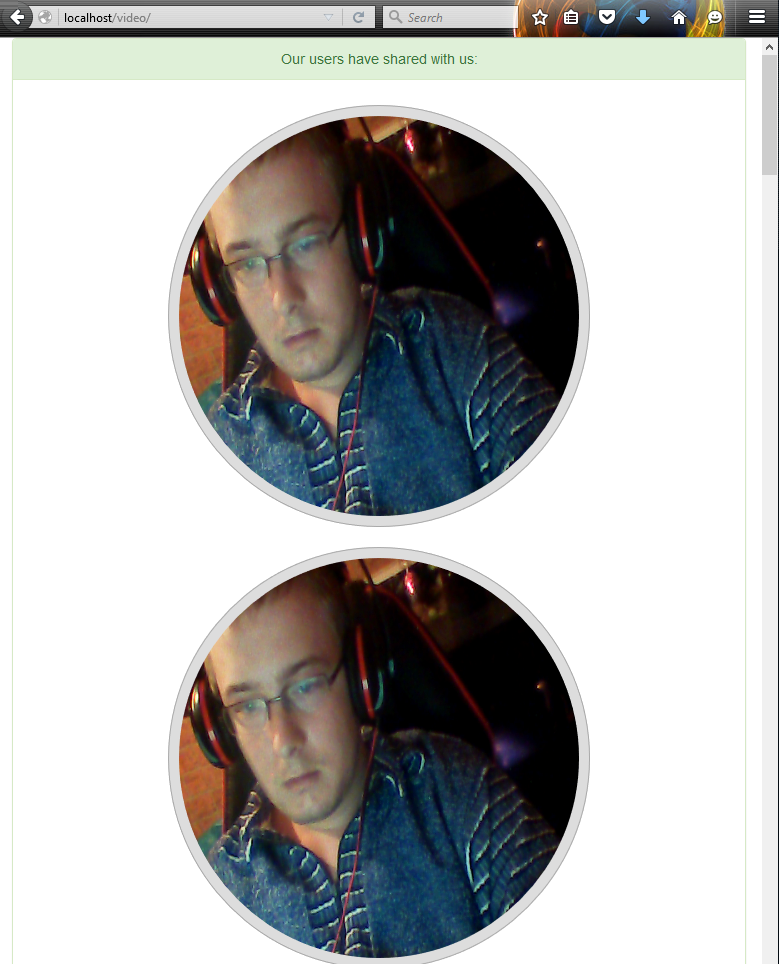
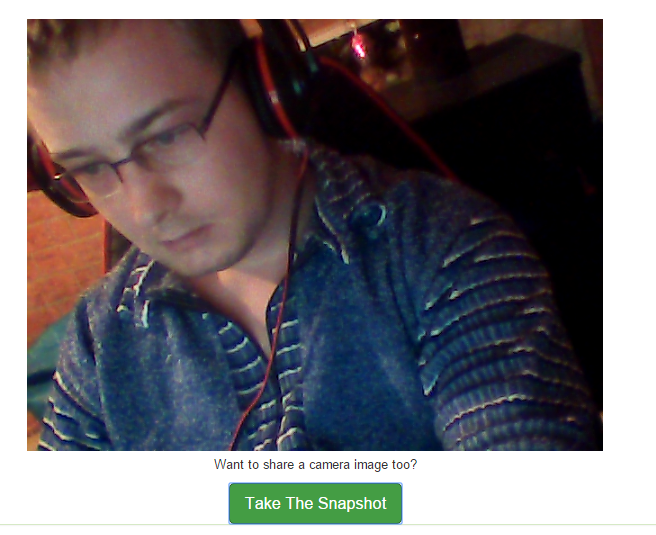
The pictures below show how the app works.
The front-end
Firstly, we have some div elements with Twitter Bootstrap classes attached to them:
<div class="text-center">

    <div class="col-md-10 col-md-offset-1">

      <div class="panel panel-success">

        <div class="panel-heading">Our users have shared with us:</div>

        <div class="panel-body" id="user-images"></div>

        <div id="user-video"></div>

        <div>

          <p>Want to share a camera image too?</p>

          <button class='btn btn-success btn-lg add-video'>Start Camera</button>

        </div>

        <div id='snapshot'>

          <p>Your snapshot is shown below:</p>

          <canvas width="400" height="400" id="canvas"></canvas>

        </div>

      </div>

    </div>

  </div>
The div with a class of user-images is where all the saved images will be rendered. The div with the id of user-video is where the video stream will be shown so that the user can pick the right moment to take a photo. The snapshot id is where the actual image that was sent to the server will be shown. Upon refreshing the page, that image would show with the rest of the images in the user-images div.
The JavaScript
First we issue an Ajax request to a text file which would contain the path of each saved image separated by a new line. When we get the response, we convert it to an array of paths, loop over each path and add an image whose src attribute points to the path to the div destined for the user images.
var xhr = new XMLHttpRequest();

xhr.open("GET","img/list.txt");

xhr.onreadystatechange = function(e) {

if (xhr.status === 200 && xhr.readyState === 4) {

var images = xhr.responseText.split("\r\n");

images.forEach(function(val){

if (val.trim()) {

var img = document.createElement("img");

img.src = val;

img.className = "img-thumbnail img-circle img-responsive"

document.getElementById("user-images").appendChild(img);

}

})

}

}

xhr.send();
Thereafter, we set up two variables – recording and mediaStream. The first will be used to know if the video stream should be started or if the image needs to be send to the back-end while the second will contain a global copy of the streamed media so that we can stop the media when the user takes his snapshot. Thereafter, we listen to click events on the green Take The Snapshot button
var recording = 0,

mediaStream = null;

document.getElementsByClassName("add-video")[0].addEventListener("click", function () {
If the video is not being recorded yet (and the green button is clicked) we create a property to hold a reference to the user media. Notice that because the user media API is still experimental we attempt to see if the new User Media API is available (available at navigator.mediaDevices.getUserMedia) and use it in that case. If it is not available, we check if any of the prefixed versions of the old User Media API are available. We have confirmed that our usage of getUserMedia or mediaDevices.getUserMedia works in recent versions of Chrome and Firefox as of 19th December 2015. In the new API, we use promises with then (takes a function to be called when the asynchronous function is completed) and catch (takes a function to execute in case of an error) methods.
As to the old API, if any of the prefixed alternatives of the API exist, the first match will be saved to our navigator.theUserMedia property. Otherwise, null would be assigned to it. If the method is truthy, we call it, requesting only the user’s video input by passing an object with options. The second argument is the callback that will be called if the user allows us to use the desired input.
if (recording === 0) {
this.innerHTML = "Take The Snapshot";
if (navigator.mediaDevices.getUserMedia) {
navigator.mediaDevices.getUserMedia({
audio: false,
video: true
})
.then(onUserStream)
.catch(onUserRevokePermission)
} else {
navigator.theUserMedia = navigator.getUserMedia || navigator.webkitGetUserMedia ||
navigator.mozGetUserMedia || navigator.msGetUserMedia || null;
if (navigator.theUserMedia) {
navigator.theUserMedia({
video: true,
audio: false
}, onUserStream, onUserRevokePermission);
} else {
alert("User media API not supported");
}
}
} else if (recording === 1) {
Therefore, if the user allows us, we create a video, add it to the page’s DOM, start it, and save the stream in a global variable in the onUserStream function. If he does not give us access (third argument to navigator.theUserMedia – a callback) or if he does not support the API – we just give him an alert.
function onUserRevokePermission(e) {

alert("We are sorry that you are not trusting us with your camera!");

}

function onUserStream(stream) {

var video = document.createElement("video");

video.src = window.URL.createObjectURL(stream);

mediaStream = stream;

recording = 1;

document.getElementById("user-video").appendChild(video);

video.play();

}
Get Free source code in our 2nd part of this tutorial.
Tutorial Categories: